Dealer List Category Visualizations
How do I visually highlight certain dealers?
- Store Locator Banners
- Store and Product Locator Biasing
- Store Locator Filters
- Store Locator Custom Pins
- Store Locator: Choose Product Line First
- Product Locator: Highlight Select Dealers on PDP
- Activation
Categories can highlight certain stores, programs, or features, and customize the behavior of your tool. They can be applied to all dealers or restricted to certain countries.
To activate any of the following, you will need to tag dealers on your Dealer List.
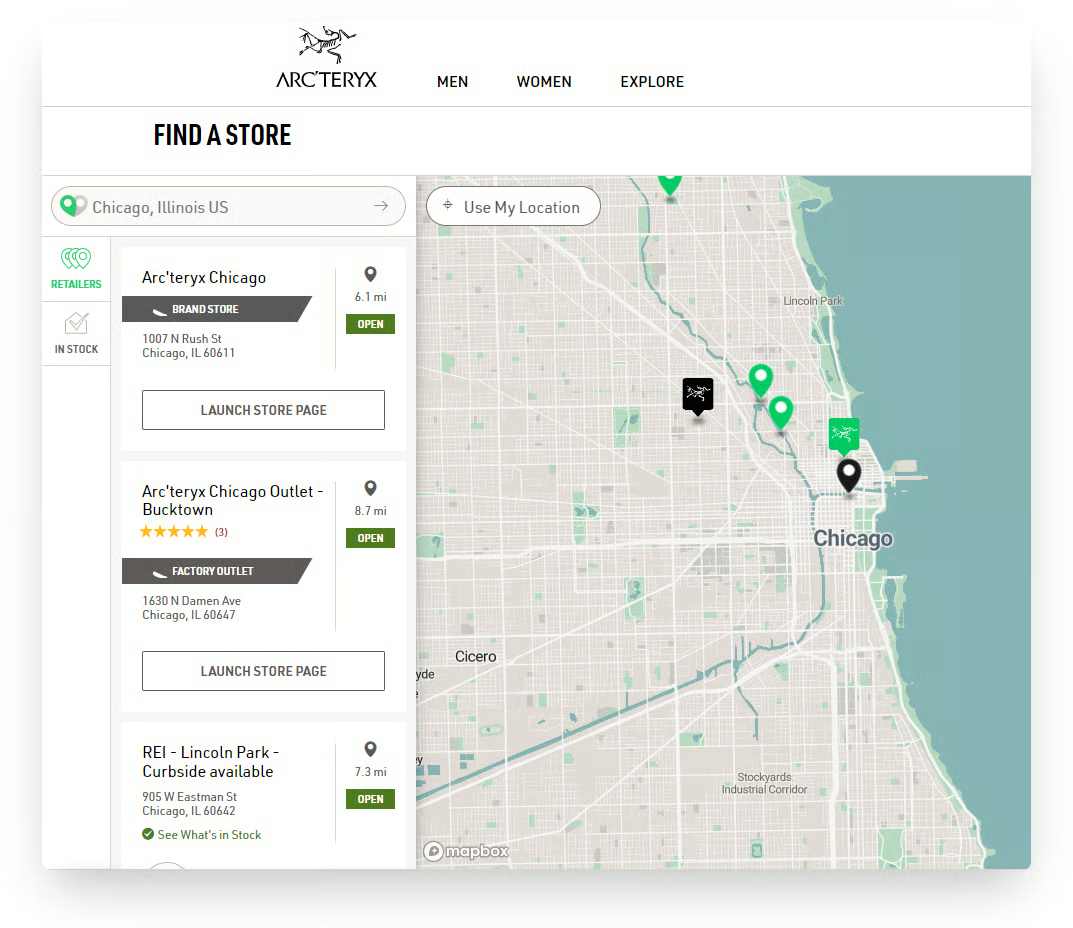
Store Locator Banners
Banners appear below the store name to highlight special store features. Banner color, copy, and text color are customizable, and there is a place for a small SVG icon. Multiple banners can be used per store.
Store and Product Locator Biasing
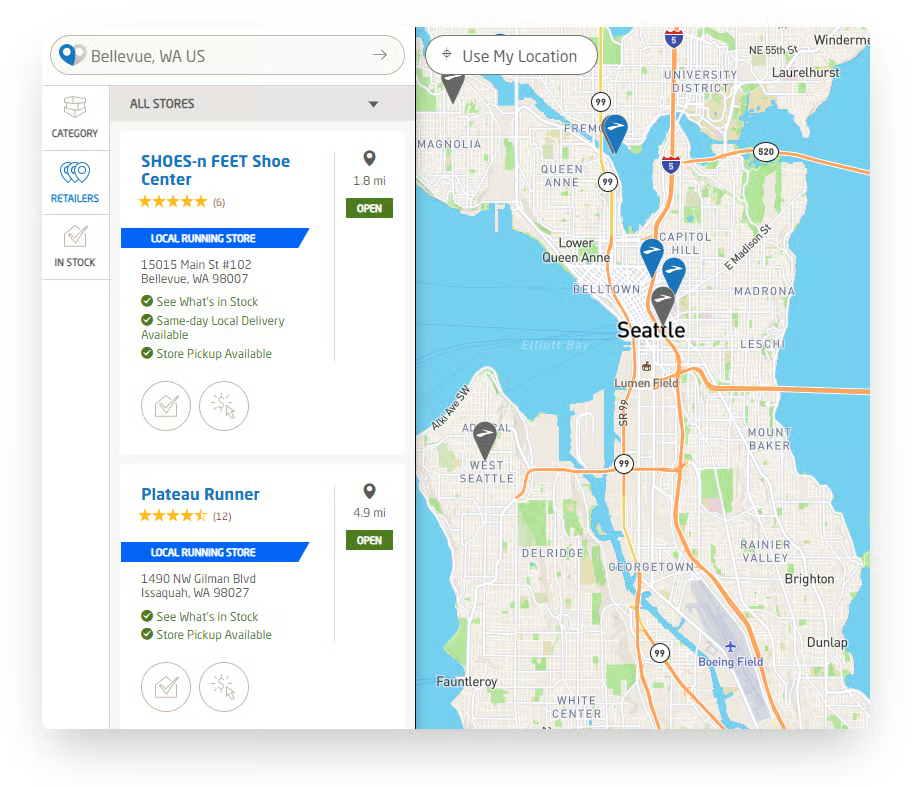
Biased stores will appear at the top of the list above non-biased stores within the map view.. We recommend adding a banner on your store locator so shoppers can easily understand why a store further away is appearing first. For complete biasing info, please read Biasing Logic for Store and Product Locators.
For example, Brooks highlights and biases local running stores.
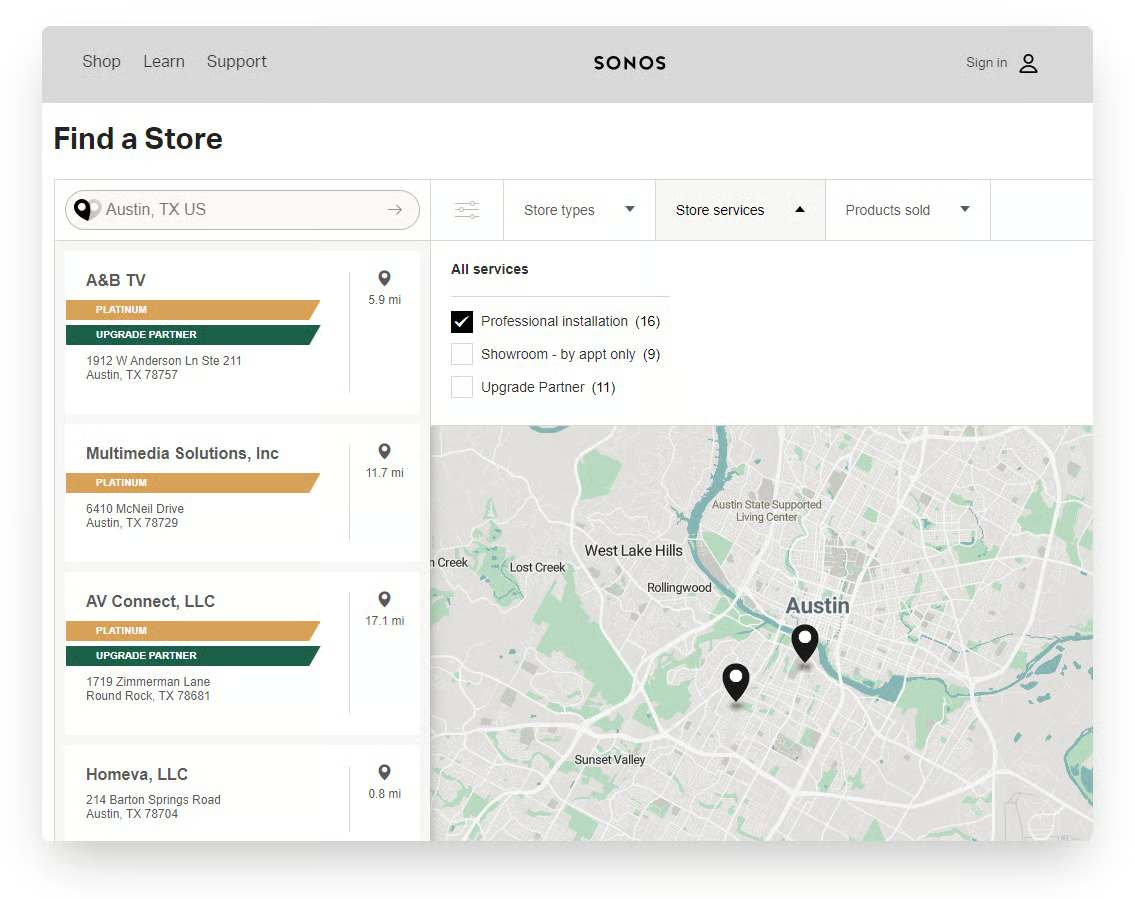
Store Locator Filters
A filter can be added if you have two or more categories. Common filters are product types and special services. There are three options. Standard Filter, Nested Filter, and Force Select
Standard Filter
The standard filter is great for products and store types that a shopper may want to sort by.
Nested FilterThe nested filter is good for more complex choices. It can support up to 50 categories, but we recommend no more than five top-level categories to avoid choice overload.
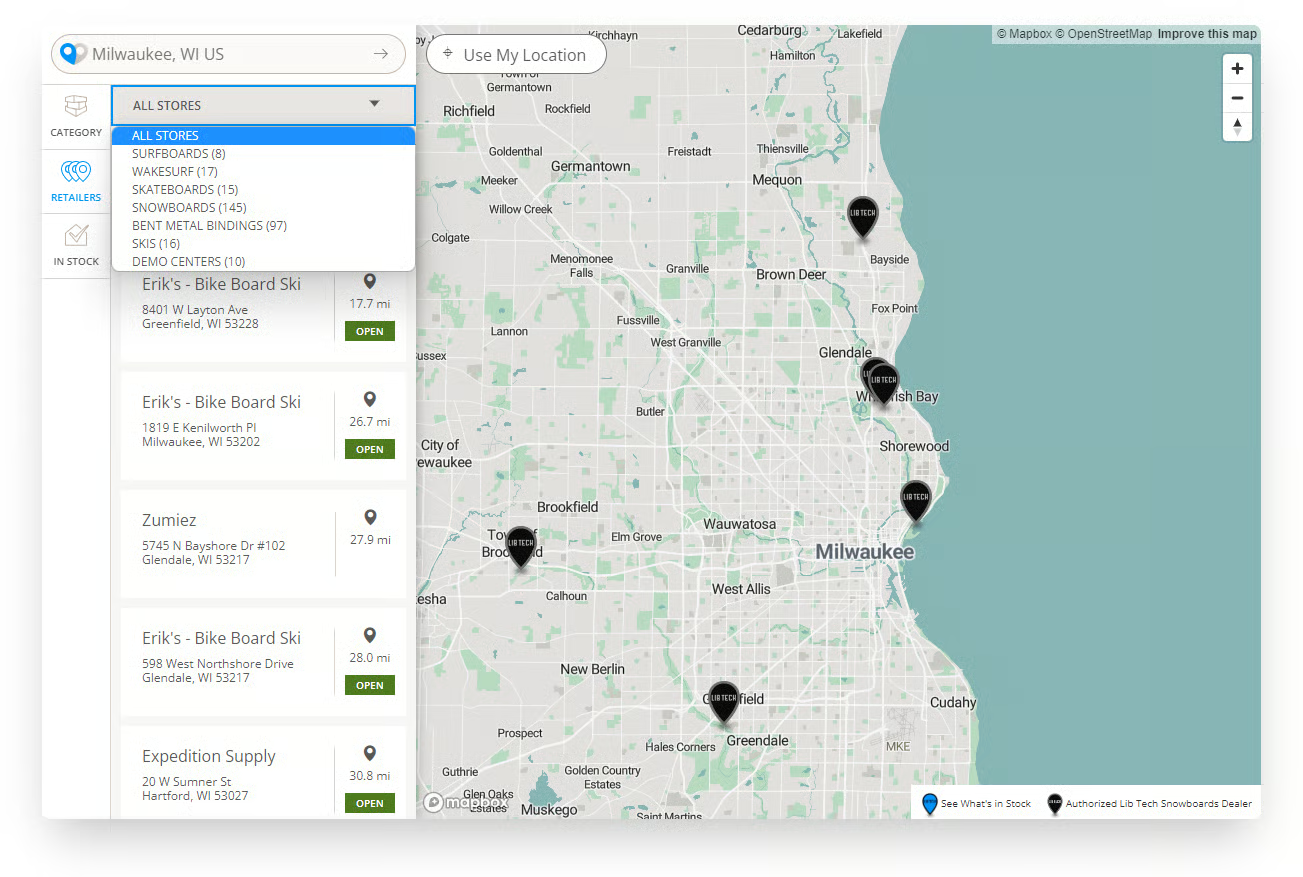
Force Select
Force select is best for brands with discrete product lines where there is little to no overlap in shopper needs, as it'll only load the stores with the tag the shopper initially chooses.
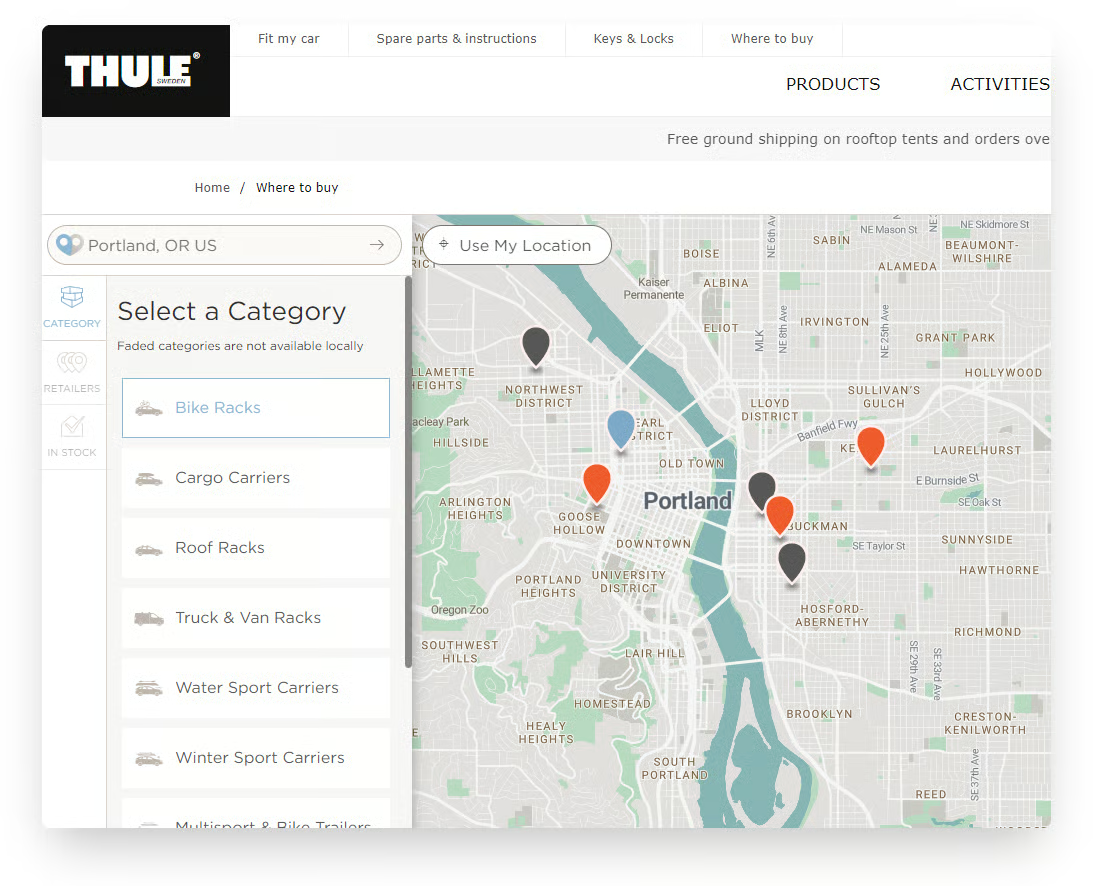
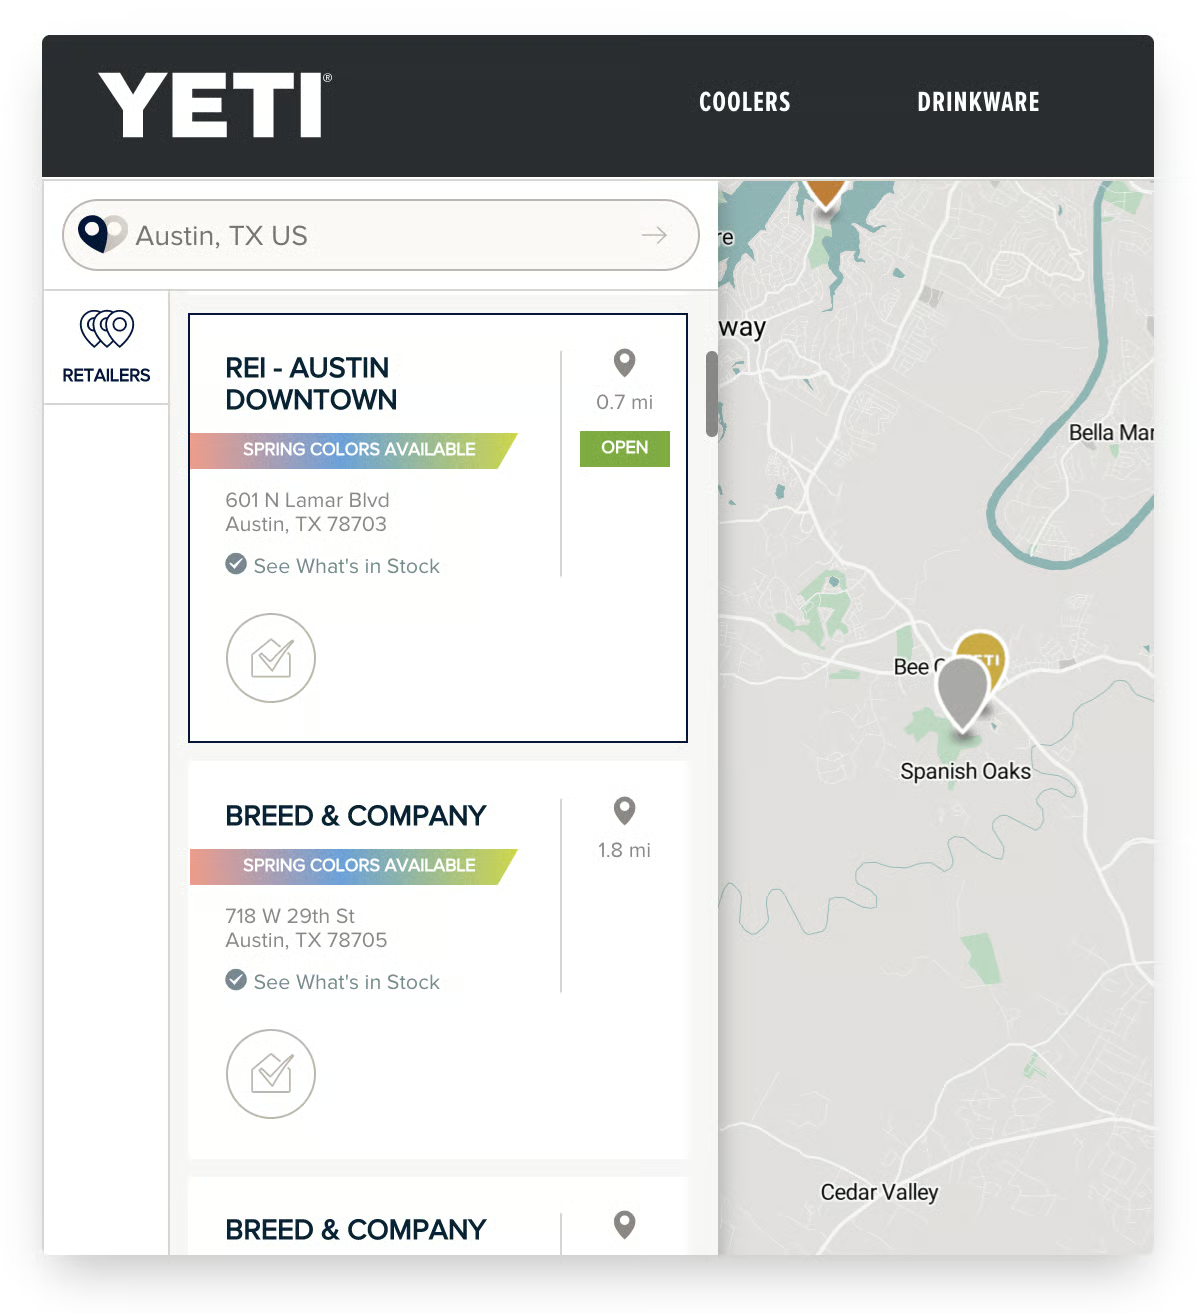
Store Locator Custom Pins
Our store locator supports multiple pins. Some brands make bigger pins for their brand stores or special pins for stores carrying important release.
Pre-filtered store locator
Using any category tag, you can create a pre-filtered map that displays only the stores with that tag. This is great for special product launches, highlighting store types, or certain services.
Link Version
You can make a special link of your live store locator to filter to just one category. Use your live store locator URL and add #lcly:categorytag.
For example, Crocs uses a link in newsletters to direct shoppers to brand stores: https://www.crocs.com/crocs-store-locator/stores.html#lcly:brandstore
Embedded Version
To embed a pre-filtered Store Locator onto any page of your site, install the Store Locator using your normal embed code, with this additional parameter added:
"category": "category-tag",or for one of multiple categories
"category": "category1 OR category2",Product Locator: Highlight Select Dealers on PDP
Categories can be used for Product Locators. This feature is most often used for products exclusive to a group of stores For example, if REI carries an exclusive product, you can tag all your authorized REI shops with "REI" and then add this additional parameter to the select PDPs.
"category": "REI",Activation
We are happy to help you activate any visualization. Email [email protected] with the details of the request.
Add Banner
Go to Tools & Maps > Store Categories
Click on the tool icon for the category that needs the banner. Go to the Options tab.
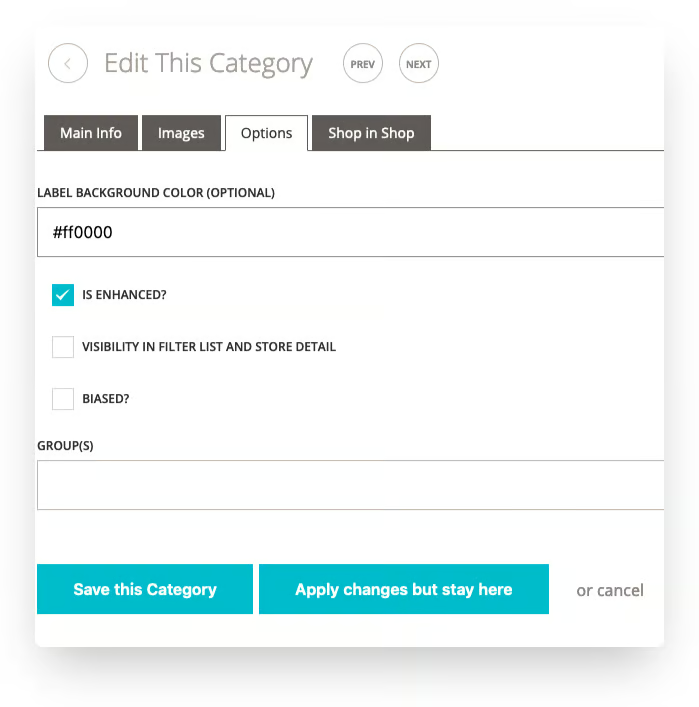
Checking Is Enhanced turns the banner on. For the color, add a hex color beginning with #, like #ff0000.
Add category to a standard filterGo to Tools & Maps > Store Categories
Click on the tool icon for the category that needs the banner. Go to the Options tab.
Check Visibility In Filter List and Store Detail.
To add a category to a nested or a force select filter, reach out to [email protected]Adding bias
Go to Tools & Maps > Store Categories
Click on the tool icon for the category that needs the banner. Go to the Options tab.
Check bias. If you have multiple biasing categories, it'll most bias the category on top.
Adding special pins
Go to Tools & Maps > Store Categories
Click on the tool icon for the category that needs the banner. Go to the Images tab.
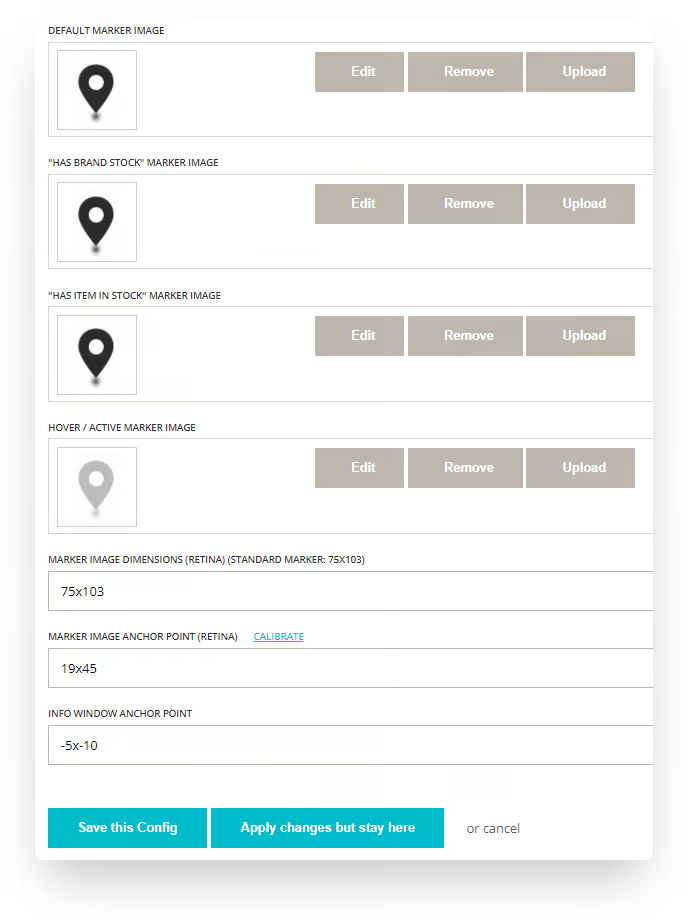
All four images must be the same in dimension. Format needs to be a .png with a transparent background. Use the same image for Has Brand Stock and Has Item In Stock. These pins will show for the dealers with stock. For special pins, you may opt to have the top three be the same. The last image is a rollover image. We suggest a grayed-out version of the pin.
You must enter numbers for all 3 fields.
Marker Image Dimensions is the exact pin dimension (or adjusted proportionally). For example, if you use a 75x103 pin you could make it slightly bigger in proportion by entering 100x137.
For Marker Image Anchor Point, we recommend 19x45.
For Info Window Anchor Point, we recommend -5x-10.
Note the x must be a lower-case x.
Save and check your store locator to make sure this new pin is visible and works correctly.
Updated about 2 months ago